Ubuntu UEFI Minimal Install Part II
In my last post, I walked through how to setup a minimal UEFI Ubuntu installation.
At the end of that guide, you only have the tty prompt and the linux shell
at your disposal. Obviously it would help to have a nice clean GUI and more
flexible applications for daily productivity.
In this guide, I walk through how I installed i3-gaps, polybar, and
compton on my minimal Ubuntu system. The end result looks like this
i3-gaps
There are instructions for how to install i3-gaps on Ubuntu on the project
wiki on Github. They mention that there are several PPAs available which you can
add to apt and use to install. I found that these were not up-to-date with the
latest version of Ubuntu, and opted to build everything from source instead.
This is not recommended by the i3-gaps maintainer, but I haven’t had issues with
it.
- Install the necessary dependencies
sudo apt-get install libxcb1-dev libxcb-keysyms1-dev libpango1.0-dev libxcb-util0-dev libxcb-icccm4-dev libyajl-dev libstartup-notification0-dev libxcb-randr0-dev libev-dev libxcb-cursor-dev libxcb-xinerama0-dev libxcb-xkb-dev libxkbcommon-dev libxkbcommon-x11-dev autoconf libxcb-xrm0 libxcb-xrm-dev automake libxcb-shape0-dev
Clone the i3-gaps repository from Github and install it. You can use the following script (copied from the i3-gaps Github) to do so.
The first few lines creates a directory called
srcwhere I clone external source code. Everything else is lifted right from the i3-gaps Github wiki.
# Create src directory
mkdir ~/src
cd ~/src

# Clone the repository
git clone https://www.github.com/Airblader/i3 i3-gaps
cd i3-gaps

# Compile & install
autoreconf --force --install
rm -rf build/
mkdir -p build && cd build/

# Disabling sanitizers is important for release versions!
# The prefix and sysconfdir are, obviously, dependent on the distribution.
../configure --prefix=/usr --sysconfdir=/etc --disable-sanitizers
make
sudo make install
X
We’ve installed a window manager, but now we need a display manager. X is the go-to for this.
If you specify to install just the three packages listed below, you’ll install X with only the dependencies you need, and avoid installing all the extra Ubuntu/GNOME dependencies you don’t.
sudo apt-get install xserver-xorg xterm xinit
This will install a number of additional dependencies, as well, though it should only take up ~300MB of space.
Compton
Compton is a compositor for X11. It enables things like smooth scrolling in web browsers, window shadows, and other nice features to make the desktop look and feel polished.
Compton can be installed easily using apt
sudo apt-get install compton
Polybar
Polybar is a configurable and clean status bar. For Ubuntu, it must be built from source.
Before installing polybar, you should first install the following dependencies
sudo apt install build-essential git cmake cmake-data pkg-config python3-sphinx libcairo2-dev libxcb1-dev libxcb-util0-dev libxcb-randr0-dev libxcb-composite0-dev python-xcbgen xcb-proto libxcb-image0-dev libxcb-ewmh-dev libxcb-icccm4-dev
I also recommend installing the additional dependencies listed below, as these will give you full access to integrated modules for polybar.
sudo apt install libxcb-xkb-dev libxcb-xrm-dev libxcb-cursor-dev libasound2-dev libpulse-dev libjsoncpp-dev libmpdclient-dev libcurl4-openssl-dev libnl-genl-3-dev
Once the dependencies are installed, you can clone + build polybar.
cd ~/src

git clone --recursive https://github.com/polybar/polybar
cd polybar
./build.sh
When you run build.sh, you’ll be prompted to answer a series of questions.
These are about which compiler you’d like to use (gcc or clang) and which
additional modules for polybar you want to install. I recommend answer y to
all of them.
Be careful: you must provide “y” to each setting you want. If you don’t, you could end up not installing certain features you want.
Configuration
The first step is to configure the .xinitrc file, which will tell the X
server to start i3 when it begins.
Create the file ~/.xinitrc and enter the following
#!/bin/sh

exec i3
Save this. Now run startx and you should be brought to the i3 desktop.

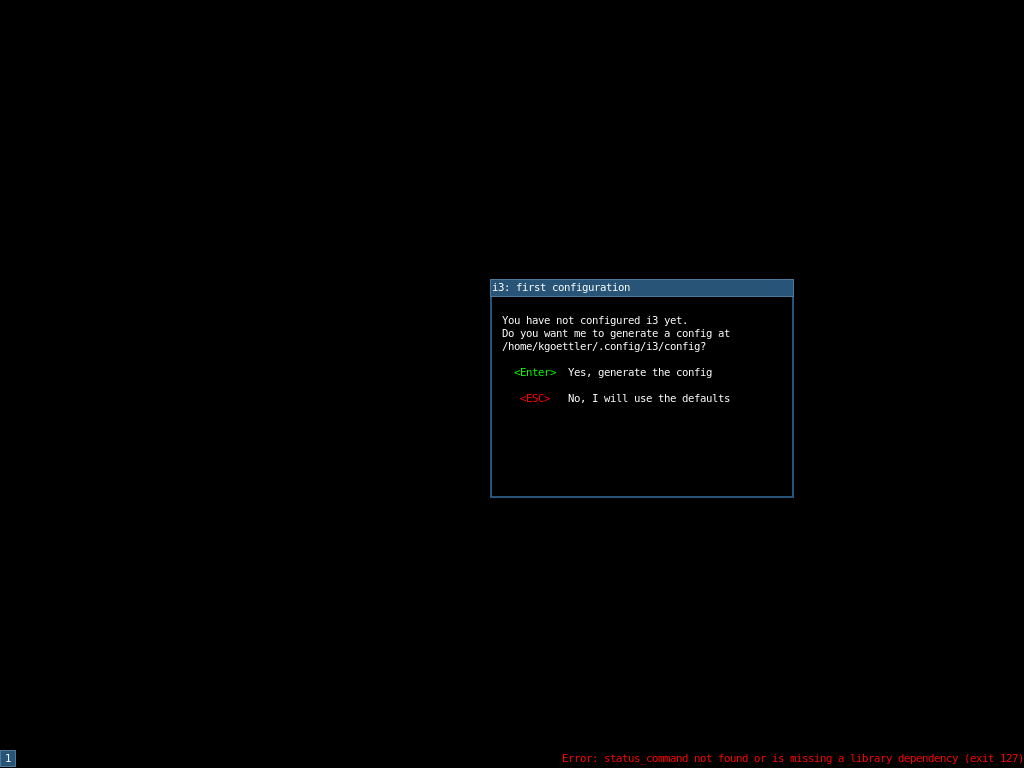
Press Enter to create an i3 config file. On the next screen you can choose whether to use the OS key or Alt key for the i3 modifier key. I use Alt.
You can press mod + Shift + E to exit i3 and go back to the Linux terminal at any time. However, at this point, I recommend staying in i3 and using xterm to do the remaining configuration. You can start xterm by pressing mod + Enter.
Dotfiles for i3-gaps, compton, and polybar
My dotfiles are available on Github. They are the dotfiles I use on my main system, and may be a good starting point for other users to create their own.
cd ~/src
git clone https://github.com/kgoettler/dotfiles
./deploy.sh
The deploy.sh script will create symlinks to all of the dotfiles in the
directories where your system will look for them.